Kayak Camp Emerald Bay: Paddle Into the Heart of Lake Tahoe
Kayak Camp Emerald Bay: A Lake Tahoe Adventure Like No Other
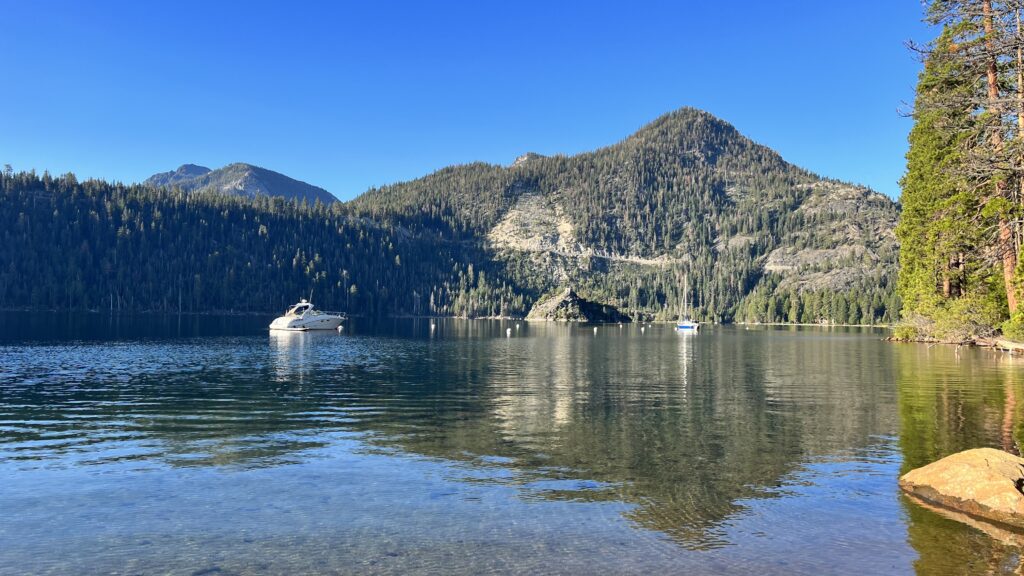
If you’re looking for an unforgettable camping experience without straying too far from civilization, kayak camping in Emerald Bay should be at the top of your list. Nestled along Lake Tahoe’s rugged western shore, Emerald Bay State Park offers one of the most scenic and rewarding ways to spend a few nights in the Sierra Nevada—by paddling in and setting up camp beneath the pines.
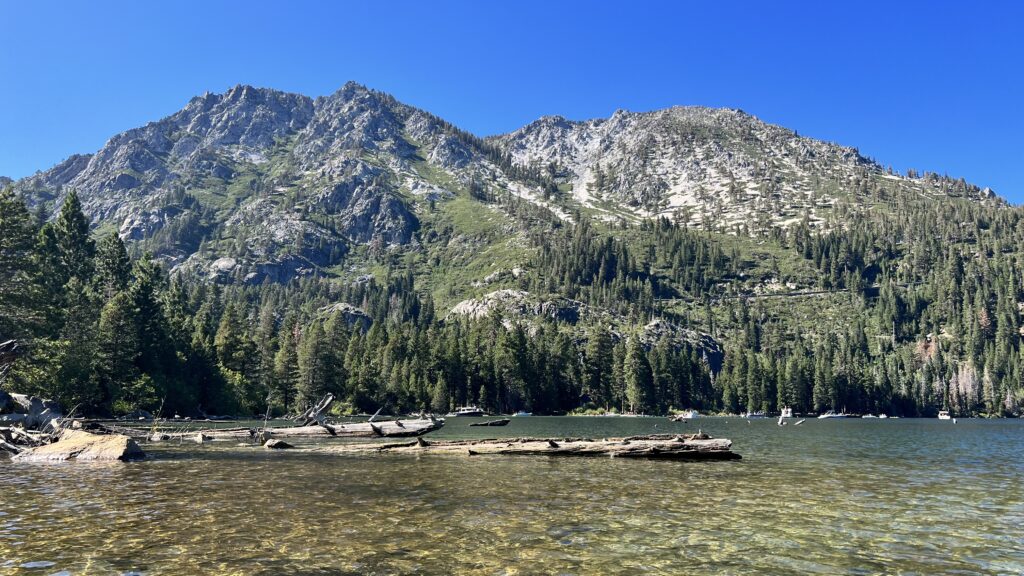
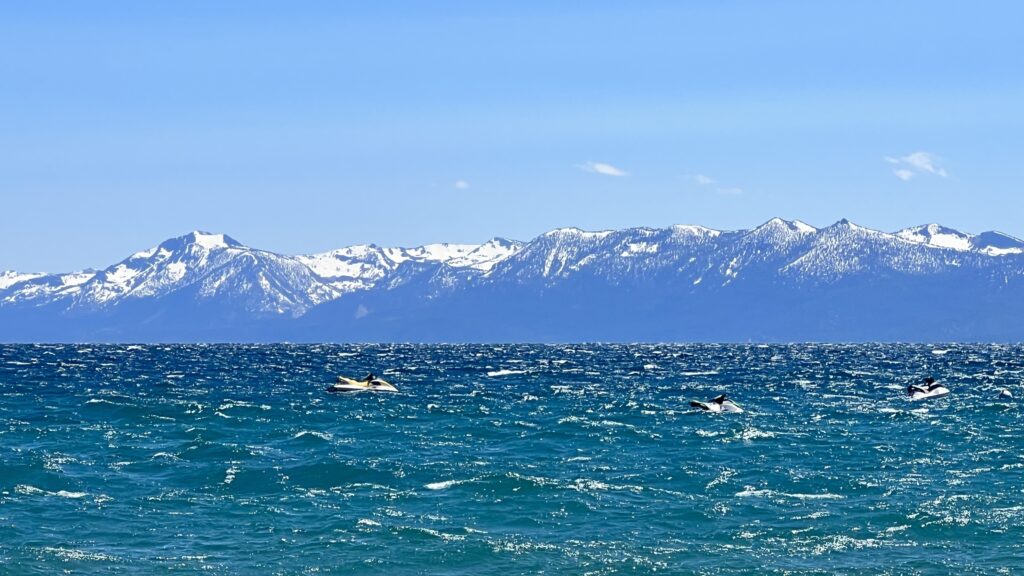
From the moment you glide onto the turquoise waters of the bay, you’re immersed in a landscape shaped by glaciers, crowned with granite peaks, and steeped in California history. Whether you’re hiking to waterfalls, exploring the only island in Lake Tahoe, or sipping tea in a century-old stone ruin, there’s no shortage of wonder waiting for you here.
But adventure in Emerald Bay doesn’t happen by accident—it takes planning, preparation, and a little bit of strategy. In this guide, you’ll learn everything you need to know to make your trip safe, scenic, and smooth: how to launch from Baldwin Beach, where to camp, what to explore, and how to handle Lake Tahoe’s famously unpredictable winds.
Let’s dive into the details—and get you ready to kayak camp Emerald Bay in style.
Table Of Contents – Kayak Camp Emerald Bay
- When to Go and How to Make a Reservation
- Launching from Baldwin Beach
- Be Safe Out There
- Check The Weather Every Time
- Wear A Life Jacket And Practice Self-Rescue
- Bring Backup Communication
- Dress For The Water, Not The Weather
- Cross the Channel Safely
- Welcome to the Campsite
- Things to See and Do
- Explore Fannette Island and the Tea House
- Secure Your Boats
- Scramble To The Summit
- Time It Right
- Bring The Tea
- Visit Vikingsholm
- Short Hike to Lower Eagle Falls
- Big Hikes, Big Rewards – Waterfalls, An Alpine Lake, and A Lighthouse
- Upper Eagle Falls and Eagle Lake
- Rubicon Point Lighthouse
- Explore Fannette Island and the Tea House
When to Go and How to Make a Reservation
Lake Tahoe sits at an elevation of 6,224 feet (1,897 m), which helps make it a world-class ski destination in the winter. But that elevation also means snow tends to stick around well into spring. Depending on snowfall, it’s common for snow to remain through mid-April and sometimes even into May. As a result, the Boat-In Campground at Emerald Bay State Park doesn’t open until at least Memorial Day, and often not until early June.
The camping season is short—just about 3.5 months. The campground closes each year in mid-September, which means you only have a narrow window to plan your trip. With just 18 campsites available, demand is extremely high, and reservations go quickly.
To improve your chances, start checking ReserveCalifornia.com in early April. Search for Emerald Bay State Park, then select the Boat-In Camp area. The site typically announces when reservations will become available, and that date is important to note.
Reservations usually open on a Saturday morning at 7:00 AM. It’s early, but showing up right on time gives you the best chance to secure a spot. These sites are in high demand, and they often book within minutes of going live.
If you’re hoping to experience the beauty of camping in Emerald Bay—arriving by kayak or boat and waking up to one of the most scenic views in California—advance planning is essential. Mark your calendar, set your alarm, and be ready.
Launching From Baldwin Beach
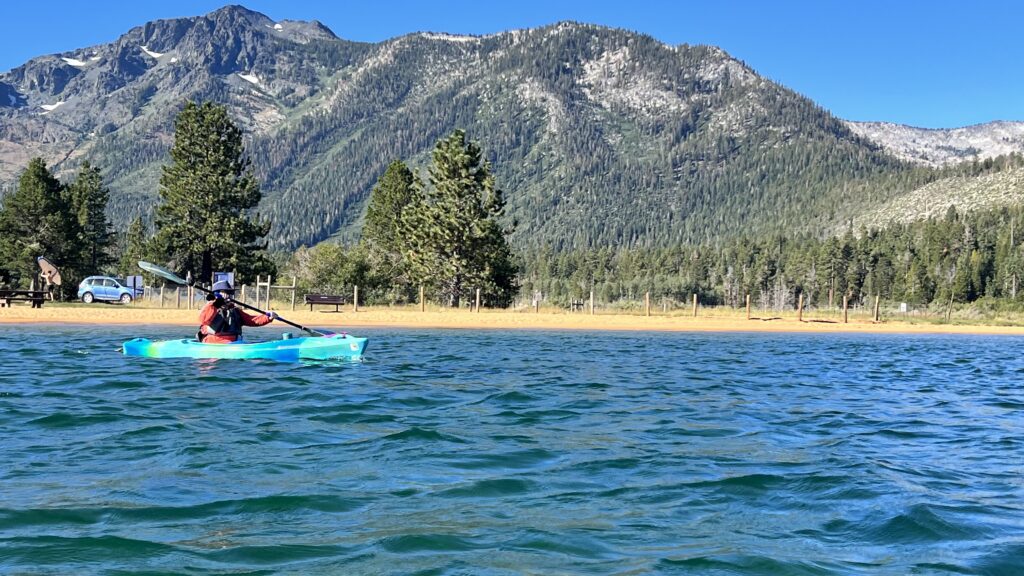
For paddlers heading to Emerald Bay’s Boat-In Campground, Baldwin Beach offers the most convenient launch point. It’s the closest access and the most straightforward, but good planning is essential—especially during peak season.
Arrive early – Ideally by 8:00 a.m. There are three important reasons for this:
- Parking fills up fast on weekends. If the lot is full, the nearest off-site parking is over a mile away.
- You’ll want time to unload gear close to the beach and park your vehicle in the designated overnight area.
- Morning conditions are typically calm, but by afternoon, winds on Lake Tahoe often pick up, making paddling more difficult or unsafe.
When you arrive, you’ll pay a day-use fee at the entrance station. Be sure to let the staff know you’re parking overnight. They’ll direct you to the overnight parking area, usually located at the back of the lot.
From there, it’s about a 100-foot (30 m) walk to the shoreline. Give yourself time to unload, organize, and pack your boat. In general, it takes about an hour to get fully prepped and ready to launch.
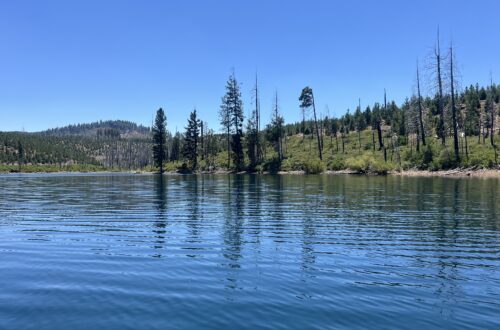
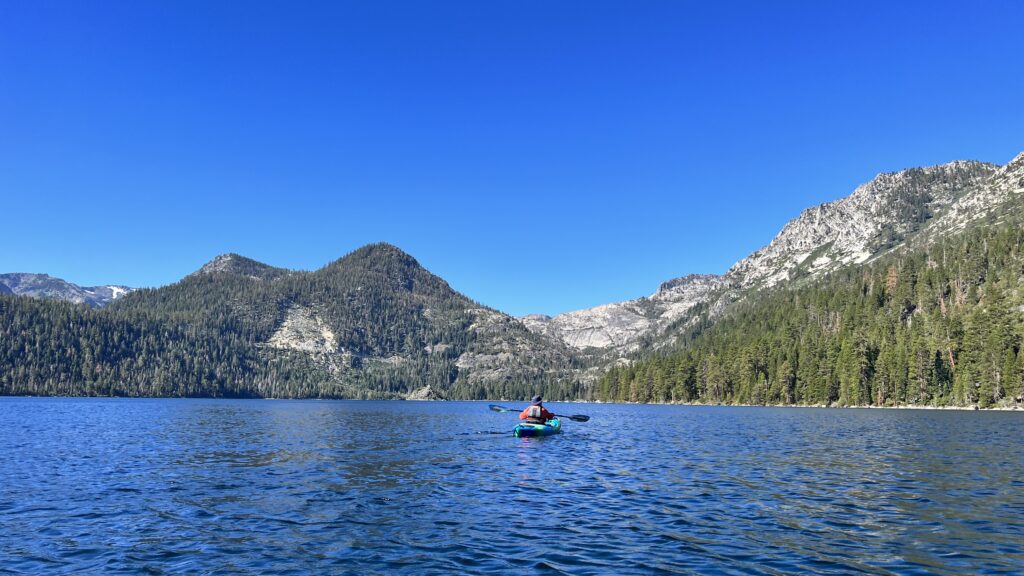
From Baldwin Beach, it’s a 3-mile (4.8 km) paddle to the campground. Once you’re on the water, take your time and enjoy the views—Emerald Bay is just around the bend, and the paddle is both scenic and rewarding.
Be Safe Out There
Lake Tahoe is stunning, but it demands respect—especially when it comes to wind and water conditions. Because of the lake’s size, wind-driven waves can build from miles away and arrive quickly. A calm morning can shift to 3-foot (1-meter) swells and whitecaps before you realize it. These conditions aren’t just challenging—they can be dangerous. Awareness and preparation are key.
Check The Weather Every Time
Before launching, check both wind and weather forecasts. Are storms predicted? Will the wind increase during the day? Don’t paddle blindly—know before you go. Apps like Windy are excellent tools for monitoring wind speed and timing. Here’s a general guide:
- 0–5 mph (0–8 km/h): Ideal for paddling
- 6–10 mph (9–16 km/h): Manageable, but tiring
- 10–15 mph (16–24 km/h): Risky and should be avoided
- 15+ mph (24+ km/h): Dangerous—get off the water
Wear a Life Jacket and Practice Self-Rescue
A properly fitted life jacket is non-negotiable—it should stay snug and secure, even in rough water. Carry a bilge pumpand paddle float, and more importantly, know how to use them. If you capsize in open water, re-entry can be tricky, so practice ahead of time.
Also consider attaching a rope to the bow of your boat. If you’re near shore, pulling your kayak in may be easier than attempting a mid-lake recovery.
Bring Backup Communication
Cell service in Emerald Bay is limited at best. To stay connected, carry a marine radio or emergency GPS device like the Garmin InReach Mini. A safety whistle is also helpful for signaling if you’re in trouble. Cell phones work—when they have service—but don’t rely on them as your only lifeline.
Dress for the Water, Not the Weather
Lake Tahoe’s water is cold year-round—especially in early season. Even on sunny days, immersion can lead to hypothermia. Wearing a wetsuit or drysuit adds a layer of safety. When in doubt, paddle close to shore where help is within reach.
Cross The Channel Safely
One specific area to approach with caution is the channel at the mouth of Emerald Bay. It’s shallow except for a marked navigation lane used by motorboats. You’ll recognize it by the two rows of buoys.
To cross safely:
- Make sure that your group is together
- Wait for a clear break in traffic
- Cross perpendicular to the channel quickly and confidently
Welcome To The Campsite
You’ll know you’ve reached the Boat-In Campground as soon as you spot the dock—it’s the only one along the west shore of Emerald Bay, making it easy to identify. From there, the campground stretches uphill on a gentle slope.
To make unloading easier, a few wheelbarrows are available near the dock. Grab one to help haul your gear up to your site—it’s a small convenience that goes a long way.
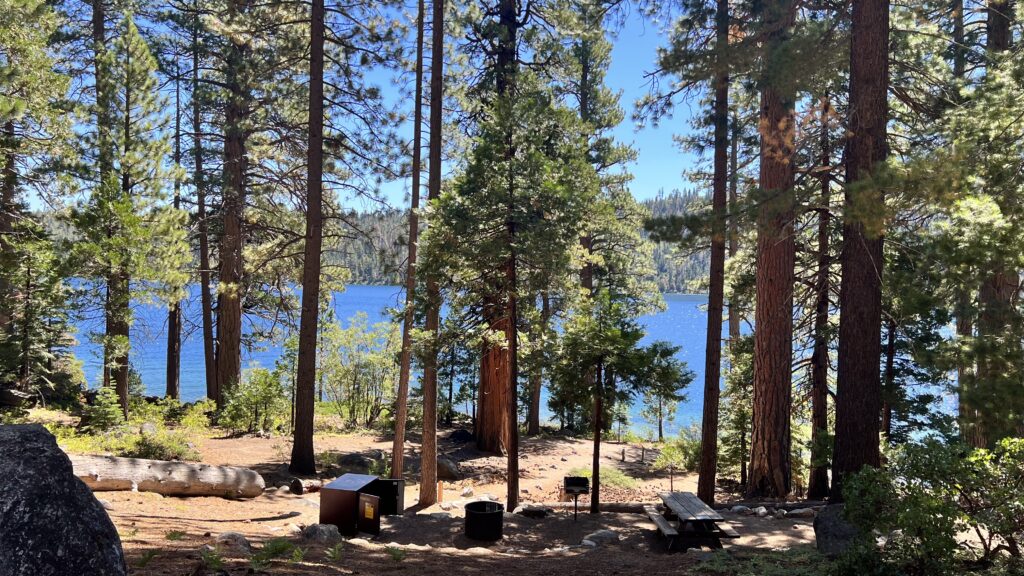
Each campsite is well spaced and shaded by tall pines. All sites come equipped with a picnic table, barbecue, and a bear-proof storage box for your food and scented items. Basic amenities include vault toilets, drinking water spigots, and even Wi-Fi, although signal strength may vary.
Need firewood or ice? The camp host sells both on-site. They also maintain a small “lost and found” of forgotten gear—camp chairs, cooking pots, and other essentials generously left behind by past visitors. If you’re missing something, check in with the host. They’re usually more than happy to help.
Things to See and Do In Emerald Bay
Now that you’ve arrived at Emerald Bay, what’s next? Sure, you could kick back at the campsite, string up a hammock, and let the hours drift by. But with so much natural beauty surrounding you, it’s worth venturing out to explore.
The first three items below are either easy to access or absolutely essential to your Emerald Bay experience.

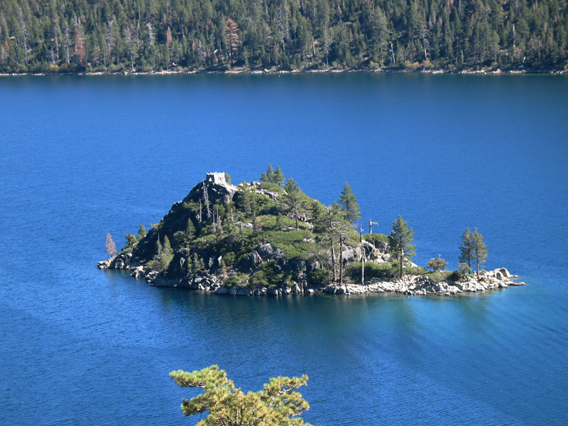
Explore Fannette Island and the Tea House
A visit to Emerald Bay wouldn’t be complete without setting foot on Fannette Island—Lake Tahoe’s one and only island. Paddle across the bay, land your boat, and make your way up the short but rugged climb to the stone tea house, perched 150 feet (46 meters) above the lake.
Though now a ruin, the tea house still carries a quiet charm and a deep sense of history. The view from the top is stunning—panoramic vistas of the bay, pine-covered slopes, and the distant Sierra peaks.
Secure Your Boats
Landing on Fannette Island can be a bit tricky. The shoreline is rocky, with large, smooth boulders and no ideal beach. Bring a rope and plan to secure your boat carefully. If your kayak drifts off while you’re exploring, it can quickly turn a peaceful outing into a major problem.
Scramble To The Top
There’s no official trail to the tea house, but you’ll find a well-worn path that involves a bit of light scrambling. It’s short, but don’t attempt it barefoot. While sturdy flip-flops can work, outdoor sandals with good traction and straps are a safer bet.
Time It Right
Fannette Island is a popular stop for boaters, so expect crowds during the middle of the day. For a more serene experience, visit early in the morning or near sunset. You’ll likely have the tea house—and the view—mostly to yourself.
Bring The Tea
One optional (but memorable) way to enjoy your visit? Bring a small stove, some water, and a favorite blend of tea. Sitting at the stone tea house, sipping a warm drink as you take in the view, is a quiet and personal way to connect with the history of the place.
For more on the fascinating history of Fannette Island and the tea house, click here.
Visit Vikingsholm
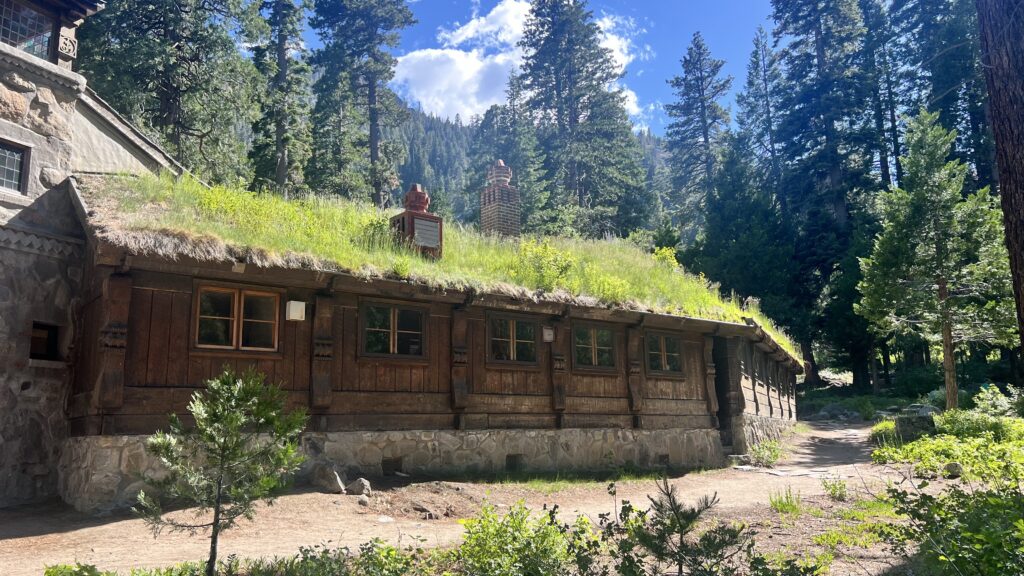
As if Emerald Bay didn’t already feel like a fairytale—with its lone island and stone tea house—there’s another surprise waiting at the western edge of the bay: Vikingsholm, a striking stone-and-wood mansion tucked into the forest.
Once the summer home of the family who owned all of Emerald Bay—including Fannette Island—Vikingsholm is now part of the state park. The architecture is especially unique, inspired by traditional Scandinavian design. Look closely and you’ll spot hand-carved dragon heads, a sod-covered roof, and a grand hall that feels straight out of Norse legend.
Located about half a mile (0.8 km) from the campground, Vikingsholm is easy to reach—either by kayak or by following the lakeshore trail on foot. However you choose to get there, it’s well worth the short trip.
You can purchase tickets for a guided tour to go inside and explore the building’s interior, or simply wander the grounds at your own pace. Either option is rewarding, but the tour offers a deeper look into the home’s craftsmanship and the fascinating story behind it.
For more details about the history of Vikingsholm or to book a tour, click here.
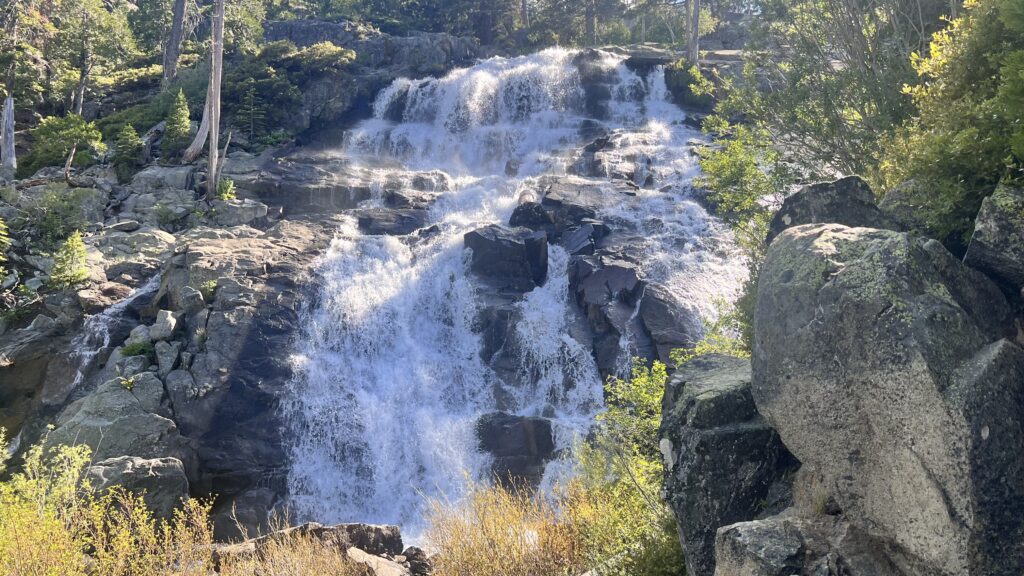
Take a Short Hike to Lower Eagle Falls
Just a few hundred feet from Vikingsholm, you’ll find the trail to Lower Eagle Falls. Follow the paved path along the shoreline, watch for signs to the visitor center, then continue toward the trailhead. The hike is easy—just about 1/4 mile (0.4 km)—and ends at a scenic footbridge with a beautiful view of the cascading falls.
Big Hikes, Big Rewards – Waterfalls, An Alpine Lake, and a Lighthouse
If you have the time and stamina, a few longer hikes from Emerald Bay deliver big scenery and memorable experiences:
Upper Eagle Falls and Eagle Lake – 4 miles round trip, 830 ft. elevation gain (6.44 km, 252 m)
This scenic trail leads above Emerald Bay to Upper Eagle Falls, then on to Eagle Lake, a peaceful alpine lake with clear, chilly water. From Vikingsholm, hike up the Vikingsholm Trail to the highway, then follow signs to the Eagle Falls Trailhead.
The trail offers sweeping views of Emerald Bay and Lake Tahoe from above—well worth the effort. Click here for more details on AllTrails.
Rubicon Trail to the Old Lighthouse – Approximately 8 miles round trip, 1200 feet elevation gain (12.9 km, 366 m)
Starting from the campground, follow the Rubicon Trail north to reach one of the highest-elevation lighthouses in the United States. The trail hugs the cliffs above Lake Tahoe, offering stunning lake views nearly the entire way. It’s a longer hike, but the scenery and solitude make it one of the most rewarding in the area.

You May Also Like
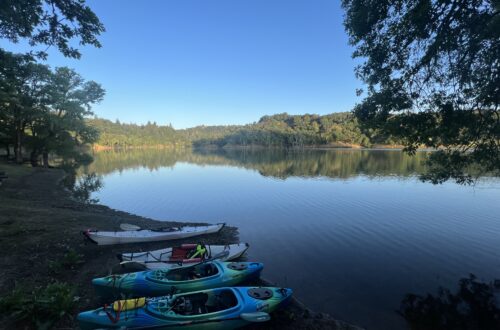
Kayak Camping Lake Sonoma: Leave the Daily Grind Behind